Welcome to Project Homelab!
Your contributions help make homelabbing better!
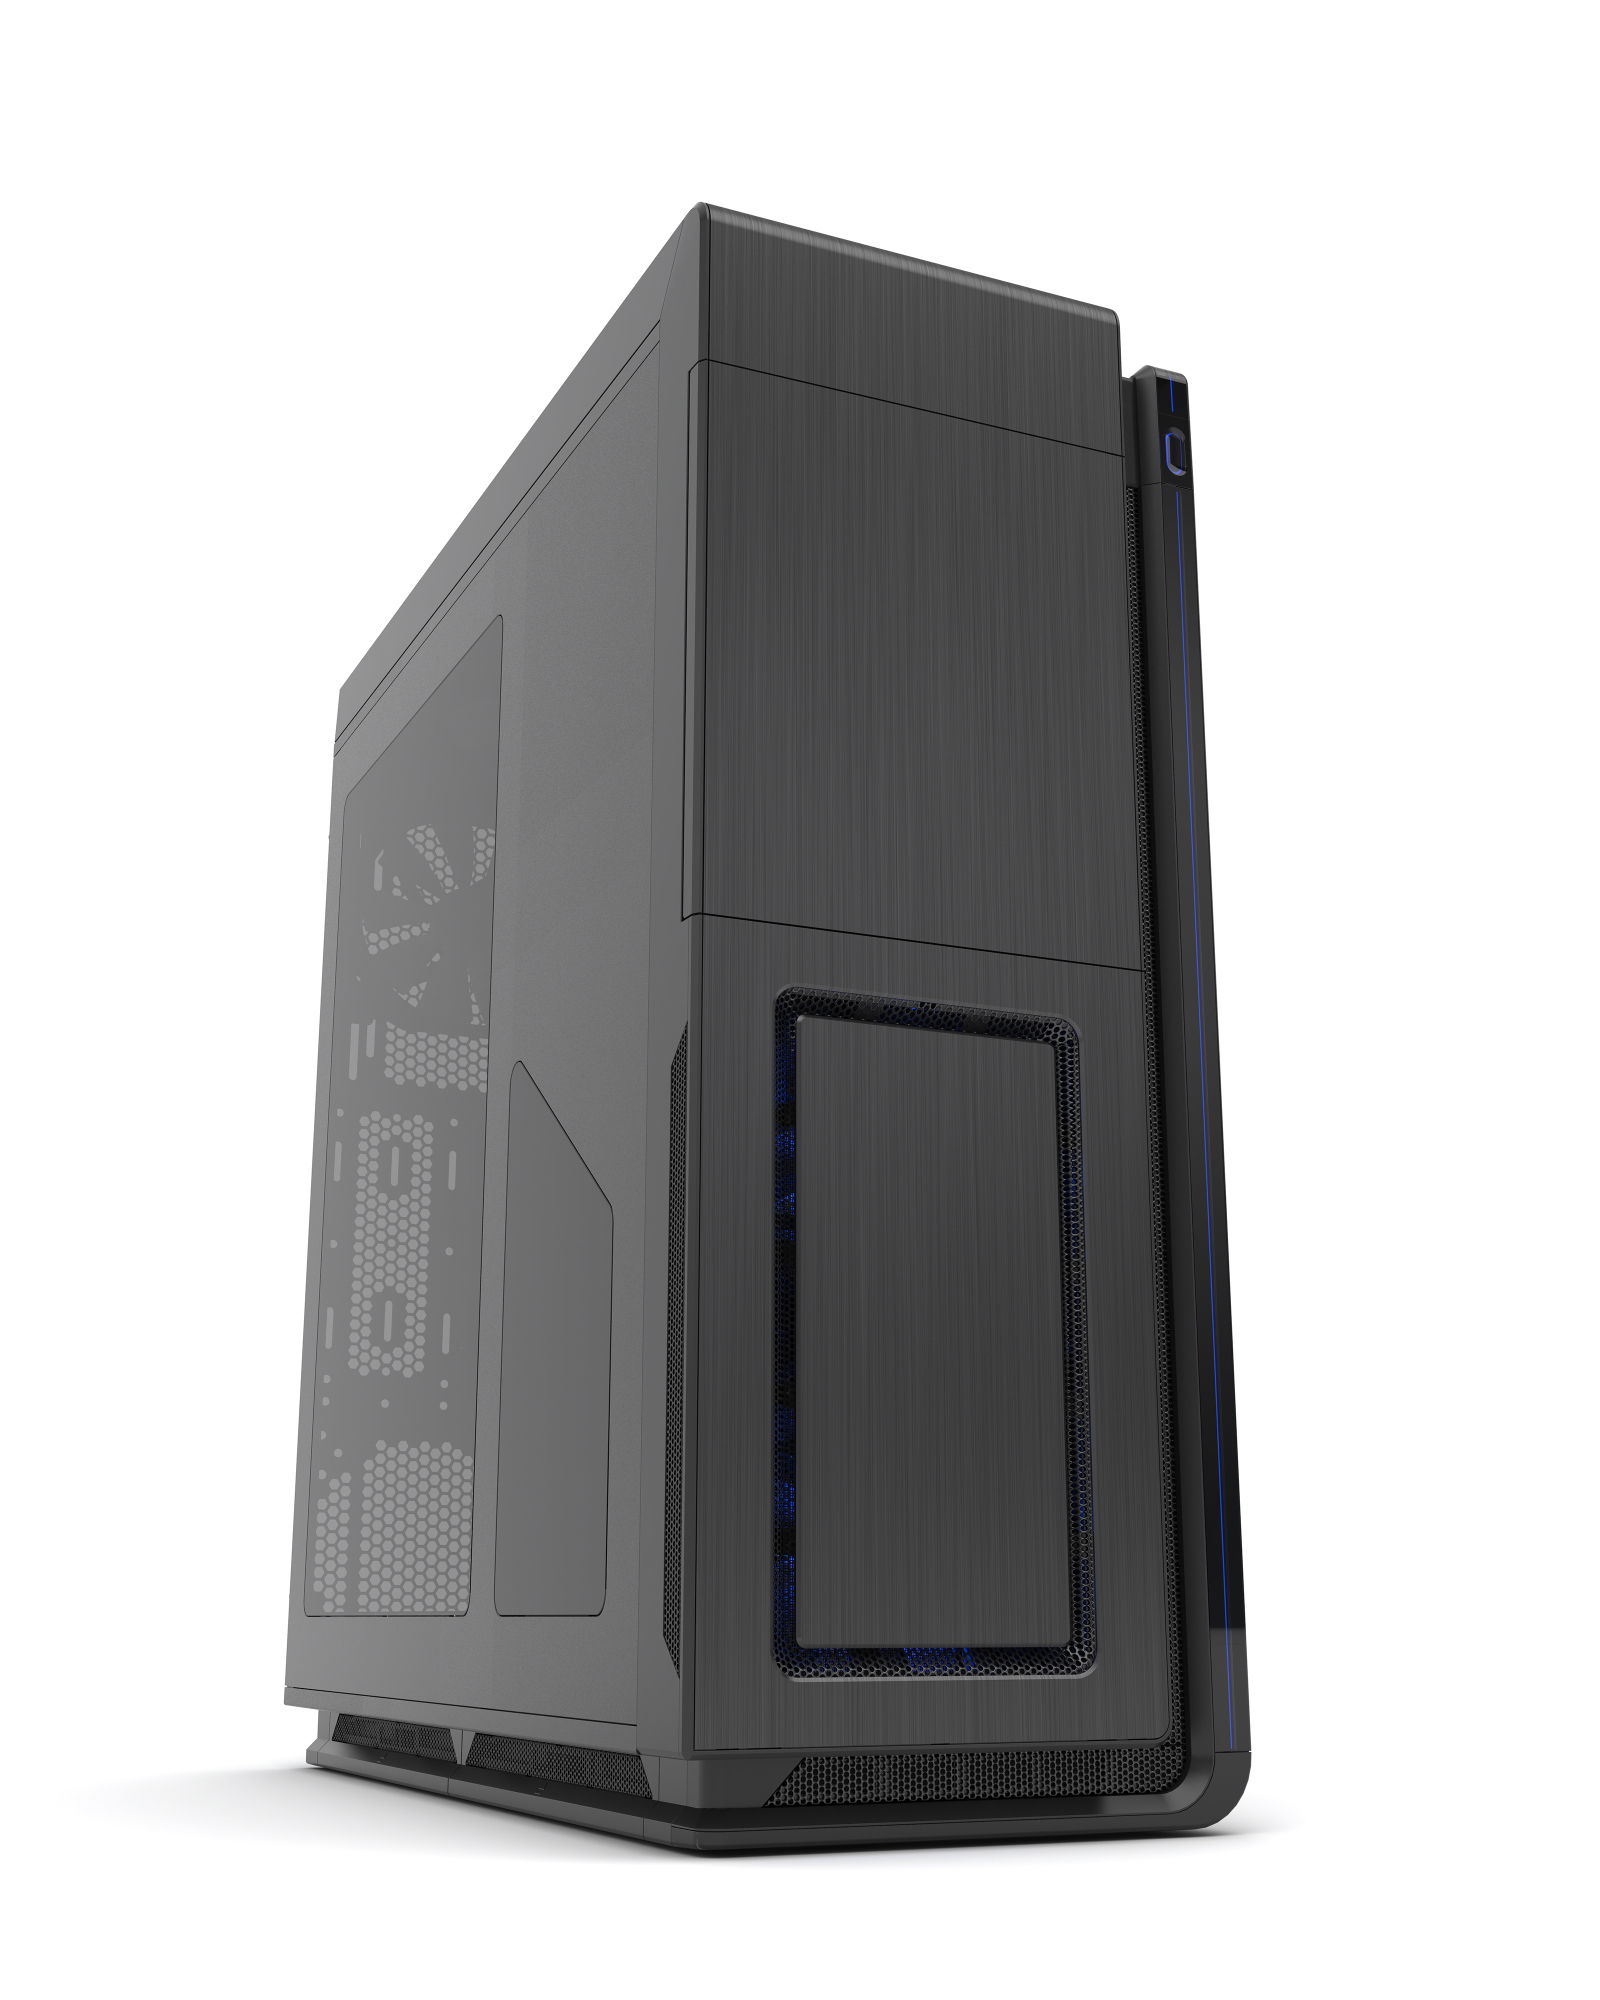
Phanteks Enthoo Primo
Phanteks Enthoo Primo Full Tower Chassis
Introduction
This is an example of a self-build "white box", using:
- Phanteks Enthoo Primo Black Full Tower Aluminium Chassis
- ASUS Rampage IV Extreme LGA 2011 Intel X79 Motherboard
- Intel Core i7-3930K 3,2 GHz (Sandy Bridge E) Processor
- 4x Kingston Value RAM Kit (each 2x 8GB, DDR3-1600, DIMM 240)
- LSI SAS 9211-8i HBAi 8-port SAS controller
- 3ware CBL-SFF8087OCF-10M, SFF-8087 to 4 x SATA Cable 1m
- 3x Crucial BX200 (240GB, 2.5") SSD disks
- 3x Samsung 850 EVO Basic (500GB, 2.5") SSD disks
- 2x ICY DOCK MB996SP-6SB 6-Bay 2.5" Backplane
This build was done in July 2016 and all components are still available in the market (at the time of writing 02/08/2016). Perhaps for the processor there will be some search effort if you want to use the same CPU, or, for sure, there are some good alternatives which are compatible with this mainboard.
For full story, please have a look at my two special blog posts (in german language):
- VMware vSphere Homelab - Erste Gehversuche / First steps
- VMware vSphere Homelab - Hardware für den Homeserver / Hardware for the home server
Points to Consider
Below are some points considered before buying the components as they are useful for any similar builds:
- vInception Type: ESXi or Workstation
- Processor(s): Family, Type, Speed, Cost
- Memory: Brand, Type, Amount, Speed, Cost
- Motherboard: Type, CPU Support, RAM Support (Capacity, Speed, Type), Controllers, Peripheral Support, Built-In Networking, Form Factor
- Storage: Type (SSD, Spinning, Hybrid)
- Casing: Form Factor, Peripheral Support, Ease of Installation, Cooling Options
- Power Supply Unit (PSU): Load Capacity, Efficiency
- Networking: Built-in Networking, Speed, Number of ports
- Cooling: Generated Heat, Fan/Water cooling, Noise Factor, Space in chassis
- WAF: low / medium / high
Casing
The Phanteks Enthoo Primo is build for the largest of motherboards. This case, mainly used by gamers and enthusiasts, looks good, is huge and mainly built with aluminium.
The case provides plenty of space (5.25" drive bays, internal 3.5" drive bays) and also proper cooling. The case has plenty of space and extra holes for cabling. Even if it's because you have that much cables, or if you want to have a nice cabling, you can do it.
Even though it's a E-ATX case, it can still support other smaller ATX variants. The case is available with a clear side window, just in case one wants to show-off their hardware to fellow geeks and / or gamers.
Motherboard installation
The ASUS Rampage IV Extreme chosen for this build (mentioned above) was of the ATX form factor. This is a point to consider regarding the mounting holes of the case and also the spacer needed between the base plate of the case and the mainboard. The casing is of a sufficient size, not to tell enough spare space, not to have its cable-management holes covered by the motherboard, once installed.
After mainboard installation, the system looks like this: (included in this picture: mainboard, graphics card and SAS controller)
The following picture shows part of the CPU water cooling radiator and the cabling holes at top of the mainboard:
Cooling
The case comes already equipped with five 140mm fans (1x top, 2x front, 1x bottom, 1x rear) to provide good cooling out of the box. The case also provides enough space for water cooling components. If you plan to integrate a water cooling solution, you are nearly ready to go. The case also provides some extra brackets for pumps, reservoirs and radiators. Depending on the radiator size you can mount radiators in front, botton, top, rear and also on the side of the case.
In my case i'm using the Hydro Series™ H100 Extreme Performance Liquid CPU Cooler. This homelab represents my old gaming rig, so there are some good performance and cooling parts built-in.
For more information, specially about all the cooling possibilities, please refer The manufacturers website. The manuals section is very detailed and gives you some idea how to mound fans and / or radiators.
Graphics Card
Well, the graphics card is nothing special. It's a vSphere homelab server, not a rich craphics CAD workstation or virtual Desktop / remotedesktop server with rich graphics applications and RemoteFX. I had a graphics card laying around, some nVidia GeForce 400 series that fits in. Thank god the graphics card works, it was in service some long time ago ;-)
Current Loading / Setup
At the moment this system is in service and runs 24/7. The base is a VMware ESXi server 6.0 U2, installed on a direct attached SSD disk. Three nested ESXi servers are running on top of the physical ESXi server.
Each nested ESXi has two CPUs with two sockets and about 16GB ram. They have also each its own physical disk access. This is realised with the LSI SAS controller. At the moment there is no pass-through mode, i had no time to check the SAS controller more detailed (speaking about the IT or IR firmware available for this controller). The physical ESXi server provides the disks. The VMDK files of the nested ESXi servers are stored on these physical disks.
The first base VMs is a Windows Server 2008 R2 Standard as a domain controller (not running on the nested ESXi servers) and also the vCenter Server Appliance, which is also not located on top of the nested hypervisors.
In the actual state my first goal is to create a nested ESXi environment to get Vmware Virtual SAN up and running. With this lab i want to prepare and train for VMware VCP certification (topics are security, networking, storage, troubleshooting and availability).
I've got already some ideas in mind how to extend this lab, but this will be covered in another article :-)
Pros and Cons of this case
Pros
- enough space even for large hardware (E-ATX mainboards) and lot of harddisks
- plenty of space for air or water cooling components
- case is delivered with extra brackets for water cooling components, lots of screws and a detailed manual
- lots of space for cable
Cons
- the price is about 250$
- 17kg for an aluminium chassis is heavy
Final Thoughts
There is no doubt. Systems like that are expensive, at least they have medium to high initial costs. I had a good base because i had this old gaming machine standing around and collecting dust. So there was literally just disks and SAS controller and some other, not so expensive, components. The mainboard supports only 64GB of ram, so there will be some limitations.